
From waterMark V2 to bulkWatermark
PMlabs waterMark V2 was released as Freeware in 2006 and downloaded more than 300,000 times on our website. In 2012 we began developing our next generation watermark software for image copyright protection called PMlabs bulkWaterMark, released in 2015. The new application was created from the scratch and brought a brand new wizard-style user interface, a new watermark rendering engine with many more possibilities than the original waterMark V2, more than 10 times more supported image file formats, layer blending effects, a extensible Plug-In system and many more new features. bulkWaterMark is available as a Free version and three paid versions with professional features.
 waterMark V2
Watermark Photos with waterMark V2
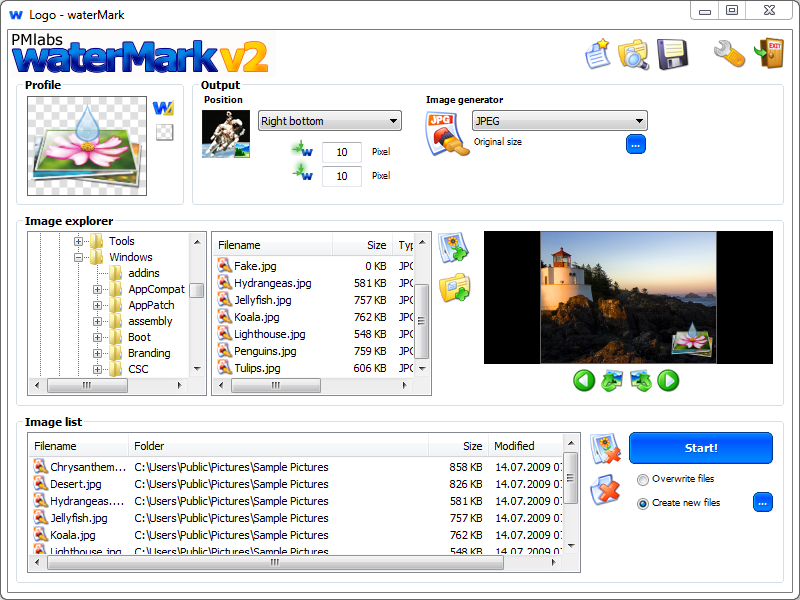
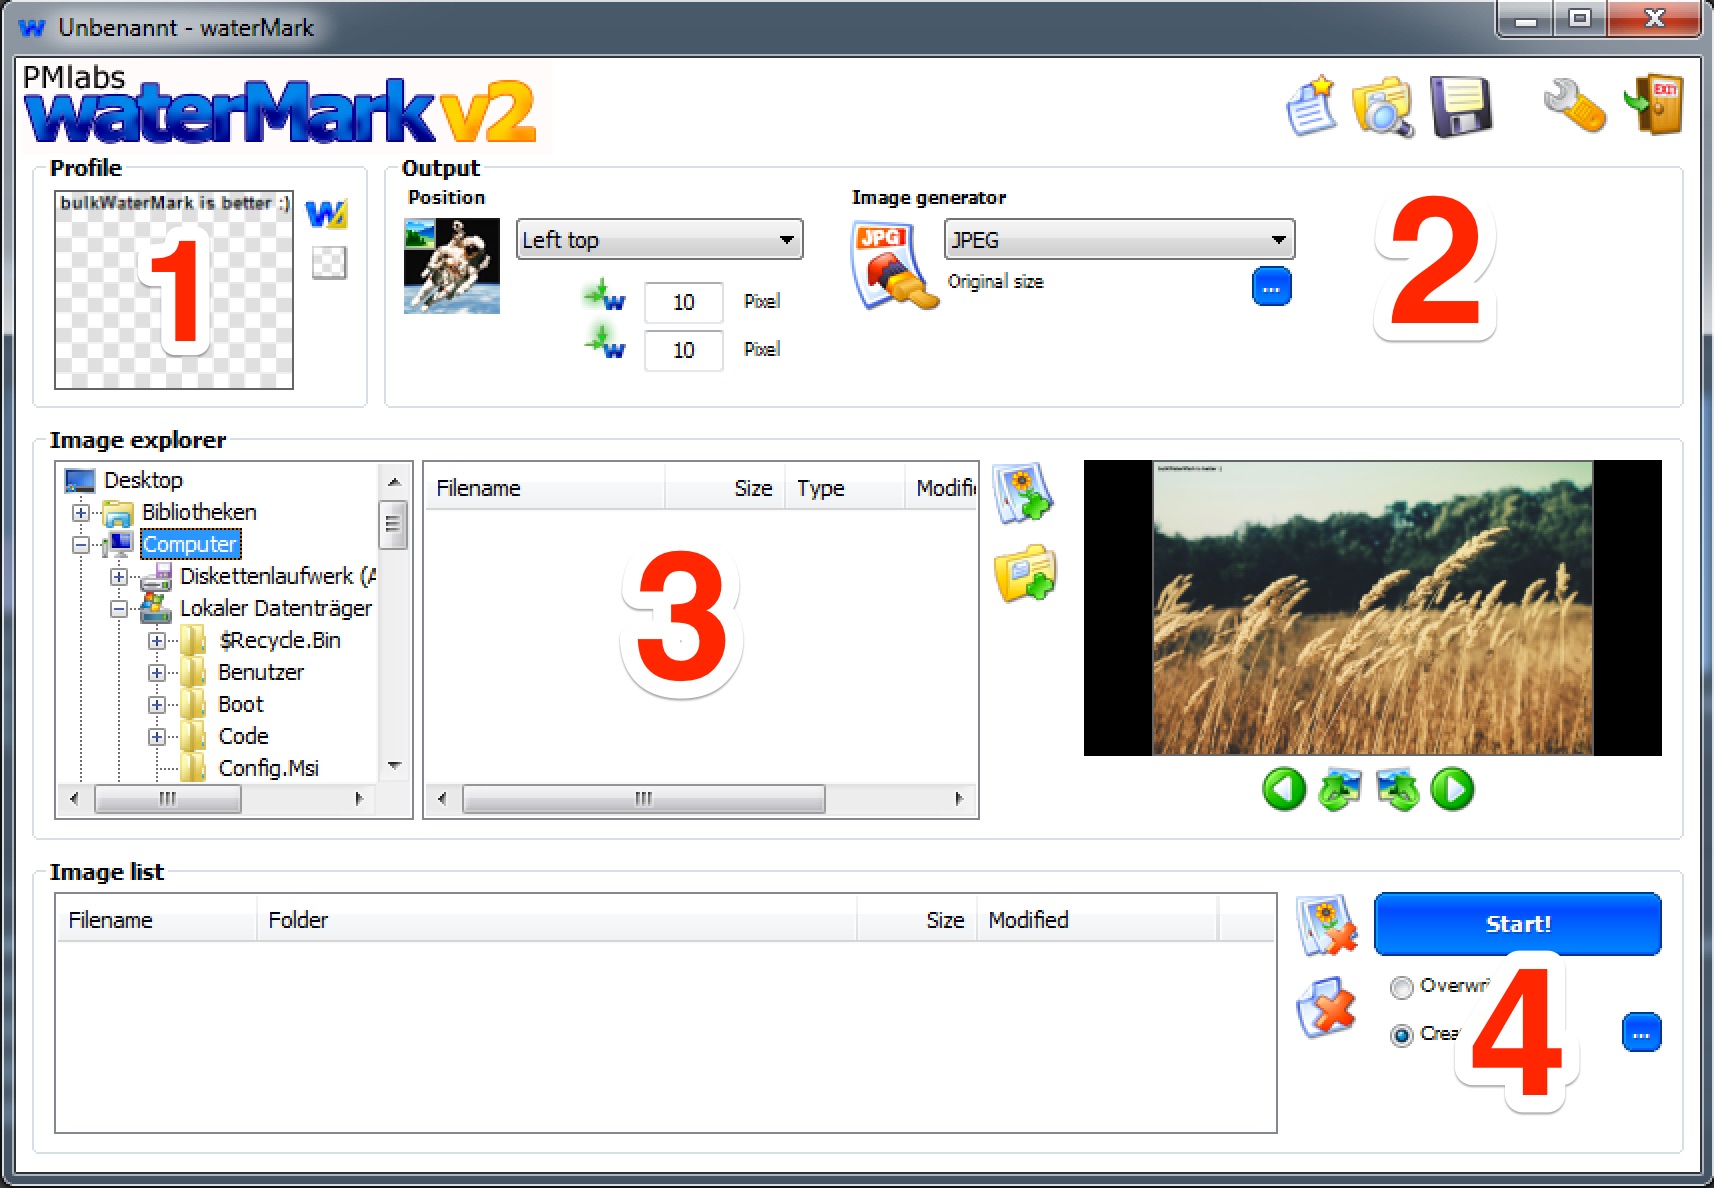
waterMark V2 is complicated when you launch it the first time. Besides of the watermark editor, every option you can set for image output is on a single, cramped screen. The picture on the right side shows the mess we wanted to improve with bulkWaterMark: First you have to design your watermark in the watermark editor. Next you have to set the output position, output format, output filename. The third step is about the images your are going to batch watermark - select and add them to the list. Once you have set up everything, you click "Start!" to watermark photos.
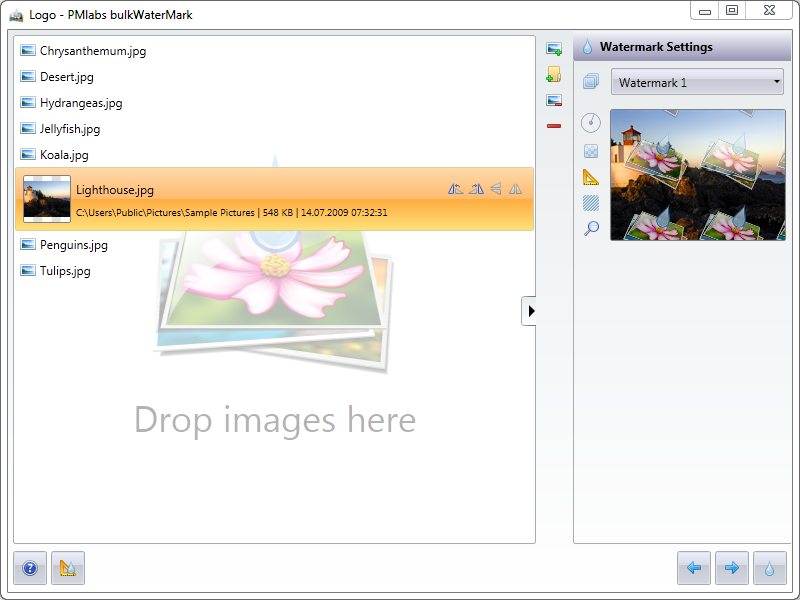
Watermark Photos with bulkWaterMark
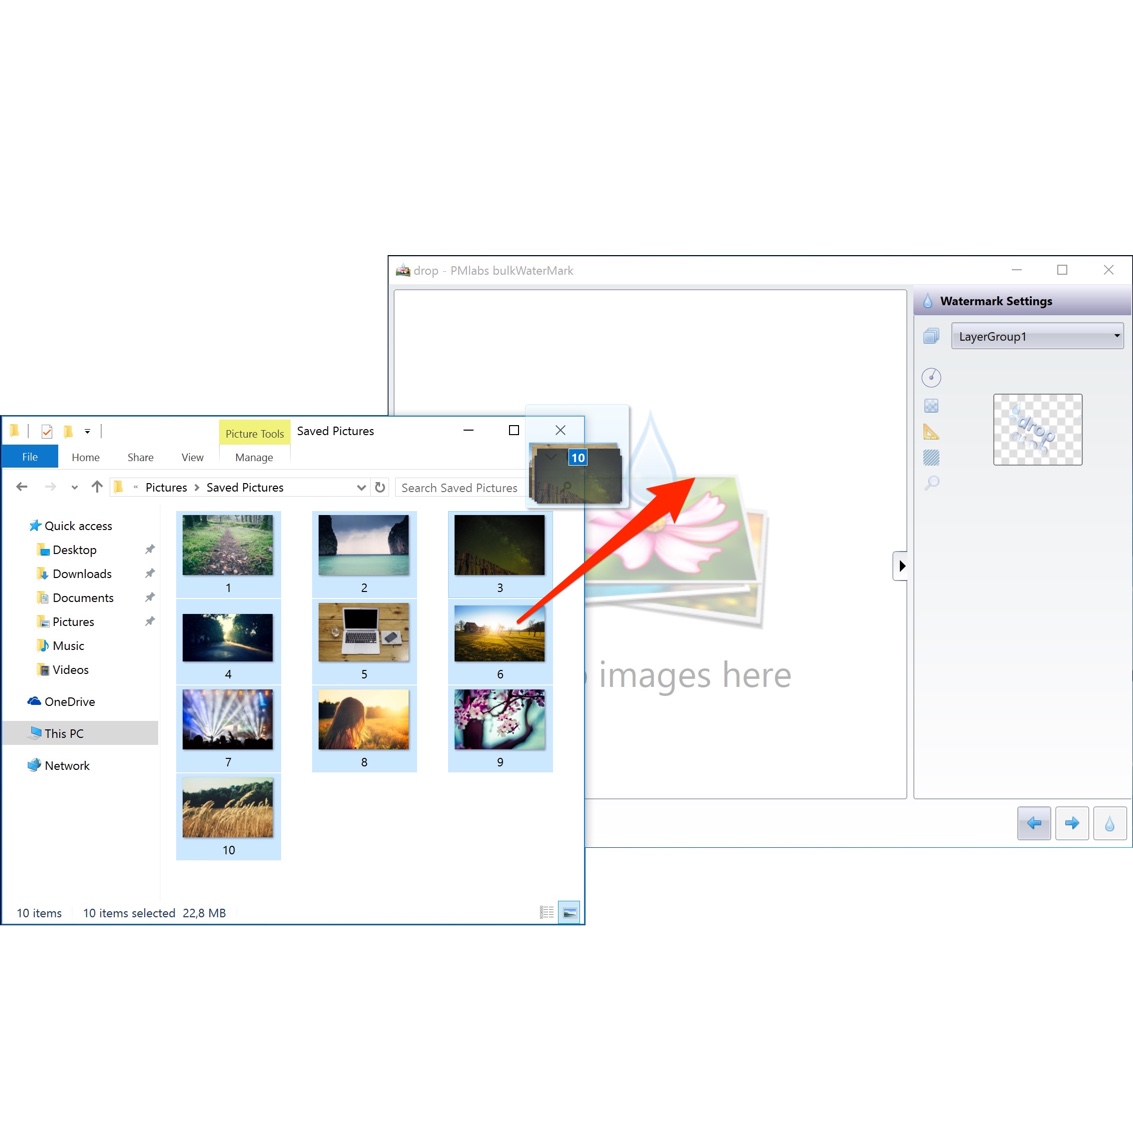
In bulkWaterMark, we wanted to get rid of the complex single screen experience of waterMark V2. We wanted the watermark app more structured and wizard like. The wizard user interface is perfect for guiding users through the process of batch watermarking photos. It was important for us that you just need two screens in bulkWaterMark to watermark pictures: The start screen that lets you select a watermark and the Batch List screen that contains the list of images you want to protect with a watermark. All the other output settings, looks of the watermark and renaming options are things that are setup only once in a "watermark lifetime" - therefore we made them optional for your daily image processing routine with bulkWaterMark. If you are using the Windows Explorer integration of bulkWaterMark, you do not even need these two screens and can directly watermark photos within Windows Explorer.


How to Add Text or Logos to Pictures with bulkWaterMark
Just look how waterMark V2 evolved to become PMlabs bulkWaterMark. This 2 minute video tutorial demos the brand new user interface and some of the application's features.
Download bulkWaterMark